One recent job I did was the refret of an old Yamaha SG700. The SG700 was produced only between 1976 – 1979. The guitar has a one piece mahogany neck, rosewood fretboard, mahogany body and a maple top. The pickups have coil taps for more sound variations.
I would like to share some images about the work.
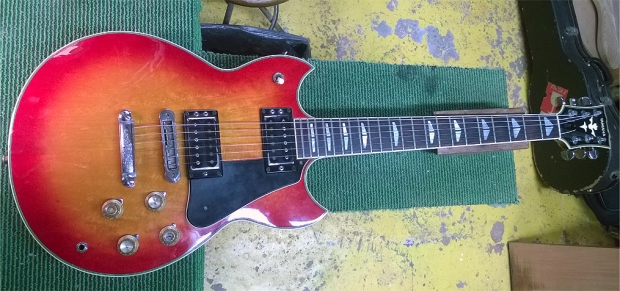
1. This is the guitar. The instrument was owned by the father of the customer and was collecting dust for quite some time.

2. Frets are worn and unplayable. The frets are really low, flat and some deep gaps are visible. A low fret is not easy to play by everybody, though some people like them. A flat fret is very difficult to play. The intonation point is shifted foreward, and the string can make lots of fretbuzz as the string touches a big surface on the fret. Good for a sitar like sound, not for an electric guitar.

3. The Yamaha Original tune-o-matic bridge has a problem that happens to any old tune-o-matic bridge, they bend under the heavy string pressure after a long time. The neck has a 14″ radius, the bridge should have the same, but is bending too far. The A, D and G string don’t even come near the radius cauge.
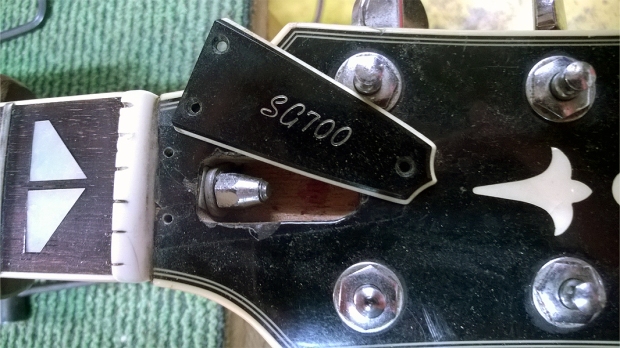
4.The truss rod nut was a bit far on the truss rod, and it was not easy to take it out. I placed an extra washer and greased the nut. Now it can be adjusted with a standard wrench in the future. The truss rod is the heart of the electric guitar, if it does not adjust good, you can never have a good setup.
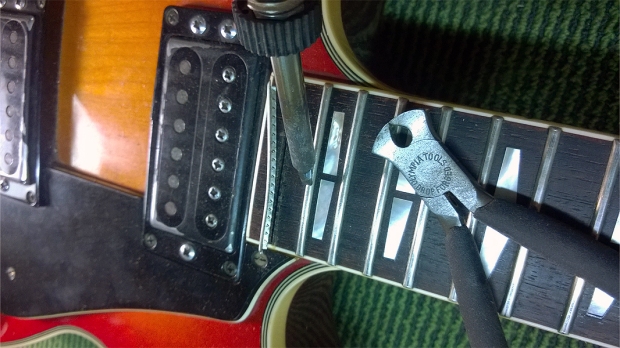
5. Removing the old frets. I pre-heat them with a soldering iron and a modified tip. If frets have been glued in place with CA / super glue, the heat will break down the bond.

6. The empty fretboard is cleaned up and sanded a bit. If small wearing spots or gaps are visible in the fretboard I sand them out completely, deeper spots I fill or just leave, depending on the customers need. Also a good moment to correct the shape of the fretboard if needed.
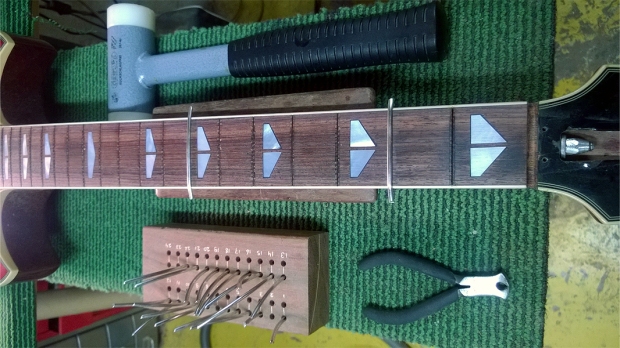
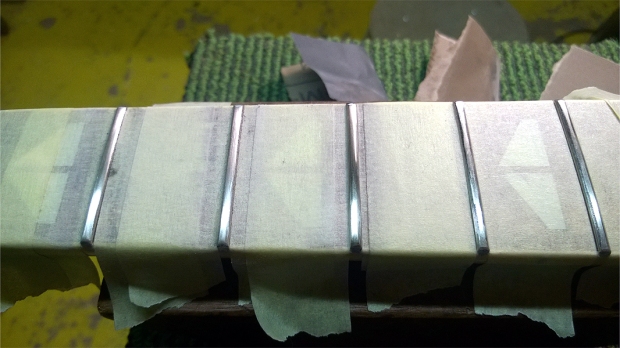
7. New frets, I needed a special size fret, as a more standard size fret did not hold good in the wood. Frets are prepared for all positions and are hammered in with a so called ‘death blow’ hammer. It is a hammer filled up with some powder in the nylon heads, so it does not bounch back. All force goes direct into the fretwire. There are many ways of installing frets, but I always feel most comfortable with the hammer-in methode.

8. After installing the frets, they need to be lightly levelled again. I Always mark the top of the frets to see what I am doing.
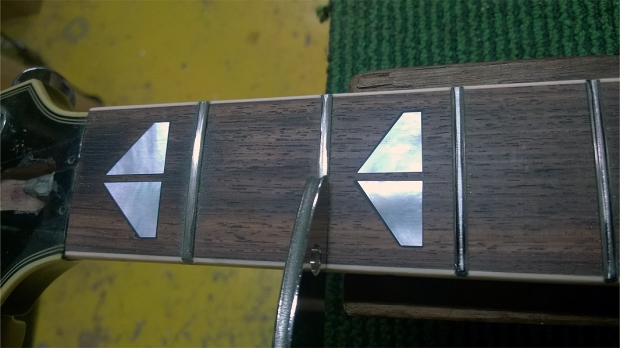
9. The frets are now a bit flat, so they need to be round again, a job called crowning. Special diamond cut files are used. They have two sides: one for small – medium wide fretwire, and one for jumbo fretwire.
10. I finish the frets in a rather straight foreward way, with several grids of sandpaper and polishing compound. I make sure the edges are round up too.

11. The topnut is replaced by a bone nut. The old nut was a bit worn and anyway too deep to fit the new fretwire. The nut needs to be cut very precise to fit the frets. Many times at a refret a topnut needs to be replaced too.
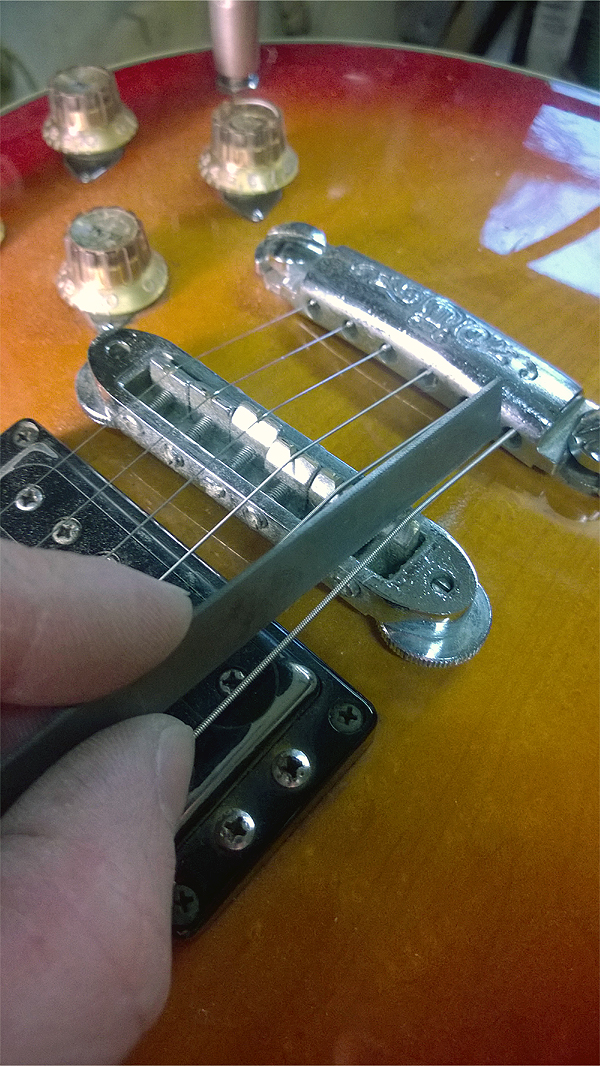
12. Remeber the bridge? I usually replace the bridge if possible. However this bridge has a very different size and appearance. So I did a correction directly in the bridge saddles.

13. Happy and ready to play!

Mooi verslag van een geweldige klus! Het resultaat is een heerlijk spelende gitaar. Super Ferdinand!
LikeLiked by 1 person